Choosing a role's permissions
A role's own page lists every permission your workspace can grant, grouped by module and feature. Tick what the role may do, in whichever of four layouts reads best to you, then save.
- The Access Control app in your top bar.
- These permissions: Roles & Permissions · Role - Read, Roles & Permissions · Role - Update.
- A custom role, or a system role other than Tenant Administrator, which is locked. See Managing roles to create one.
If Access Control isn't in your top bar, your role can't view it or your plan doesn't include it. Ask a workspace administrator, or see Permissions and module visibility.
Steps
Open the role
On Roles, select the role's name. Details shows its Name and Description; beside Permissions, a count such as 9 / 146 says how many it holds out of all it could.
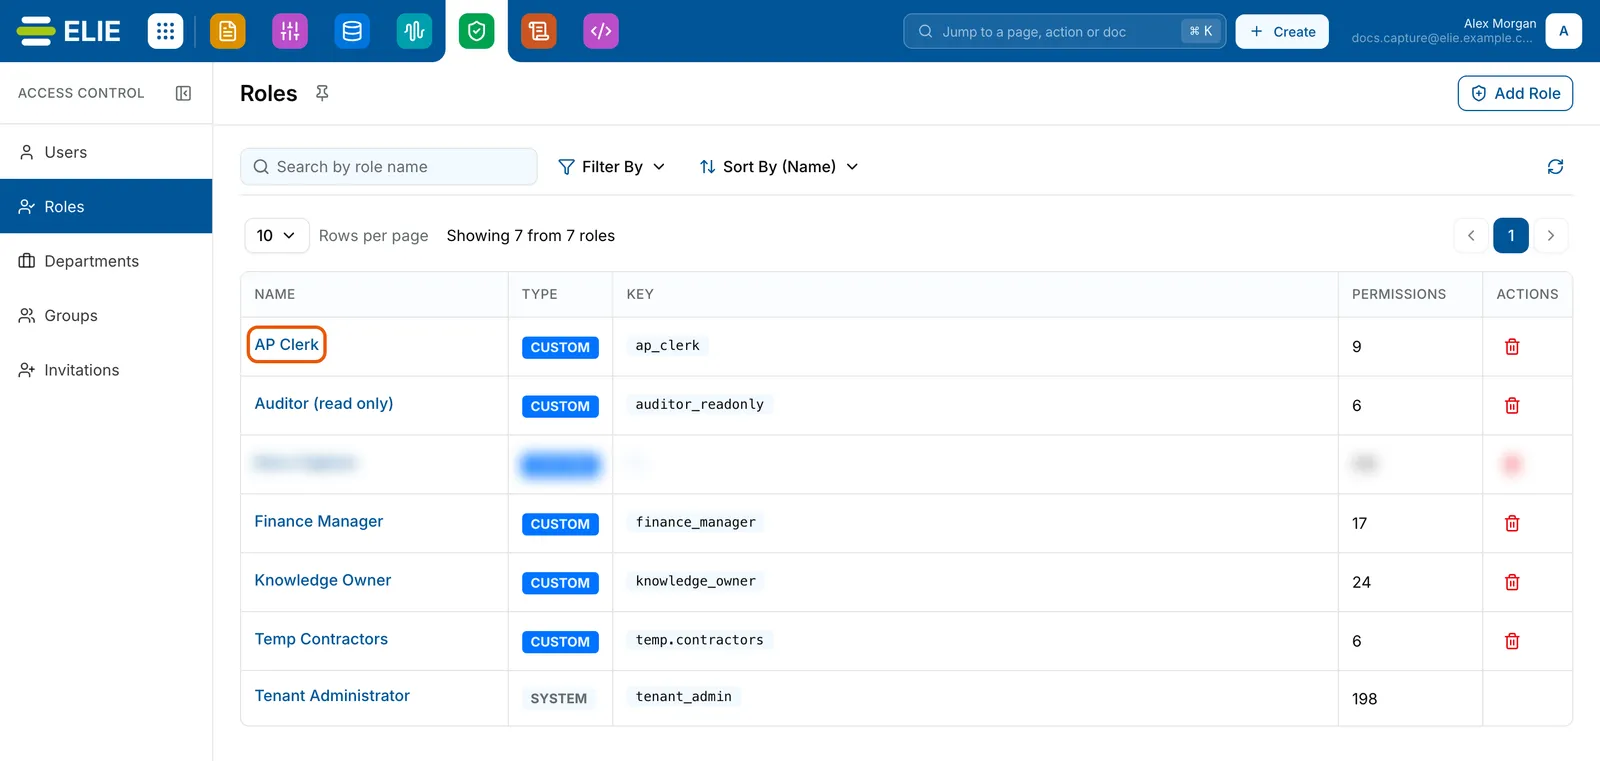
The Roles list with the AP Clerk role name ringed. EnlargePick a layout
Use the four icons beside Permissions. Split view, the default, lists each module and feature on the left with a switch per permission on the right. Table view is a grid: one row per feature, one column per action, and
-where a feature has no such action. Grouped view shows every module as a section you can collapse. Module view lists Modules on the left and every feature of the chosen one beside it.
The Permissions header of AP Clerk, 9 / 146, with the four layout icons at the right ringed, above Search permissions, Access level All, Read, Write and Manage, and Granted only. EnlargeNarrow the list
Type into Search permissions to match a module, feature or permission. Under Access level, Read keeps viewing and listing, Write keeps creating, changing and deleting, and Manage keeps running, exporting and managing. Granted only keeps what the saved role already holds.
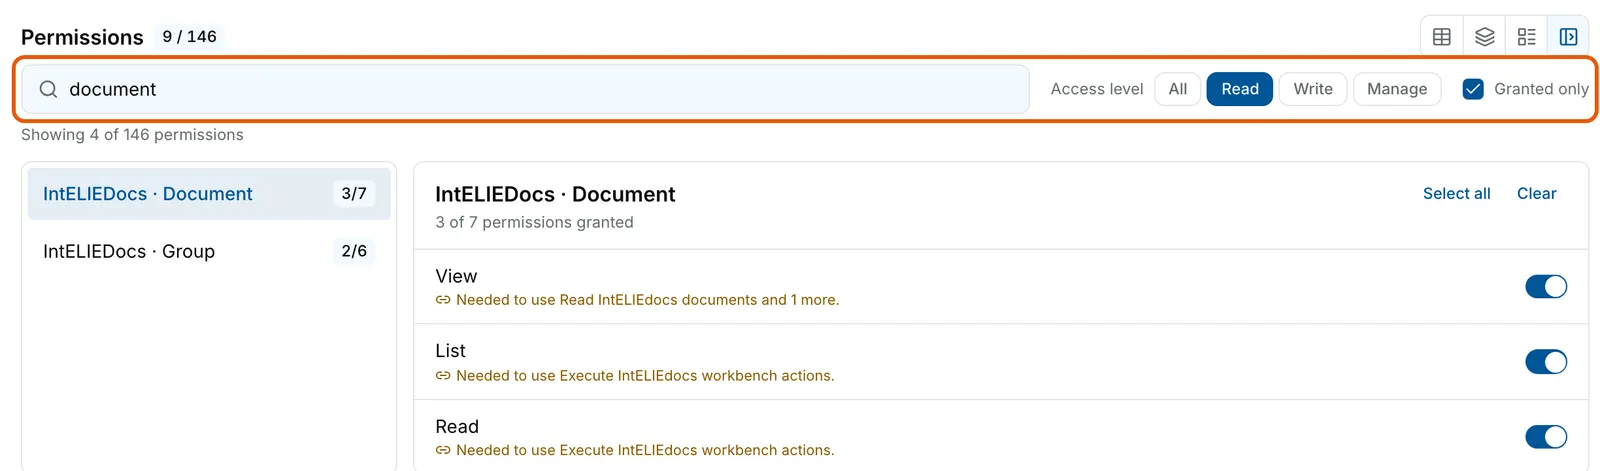
The permission toolbar ringed, with document typed into Search permissions, Access level set to Read and Granted only ticked. Showing 4 of 146 permissions: IntELIEDocs · Document 3/7 and IntELIEDocs · Group 2/6, with View, List and Read switched on for Document. EnlargeTick what it may do
Tick single permissions, or use the bulk controls: Select all and Clear at the top of a pane, or the box beside a module or feature heading. Switching layout keeps everything you have ticked so far.
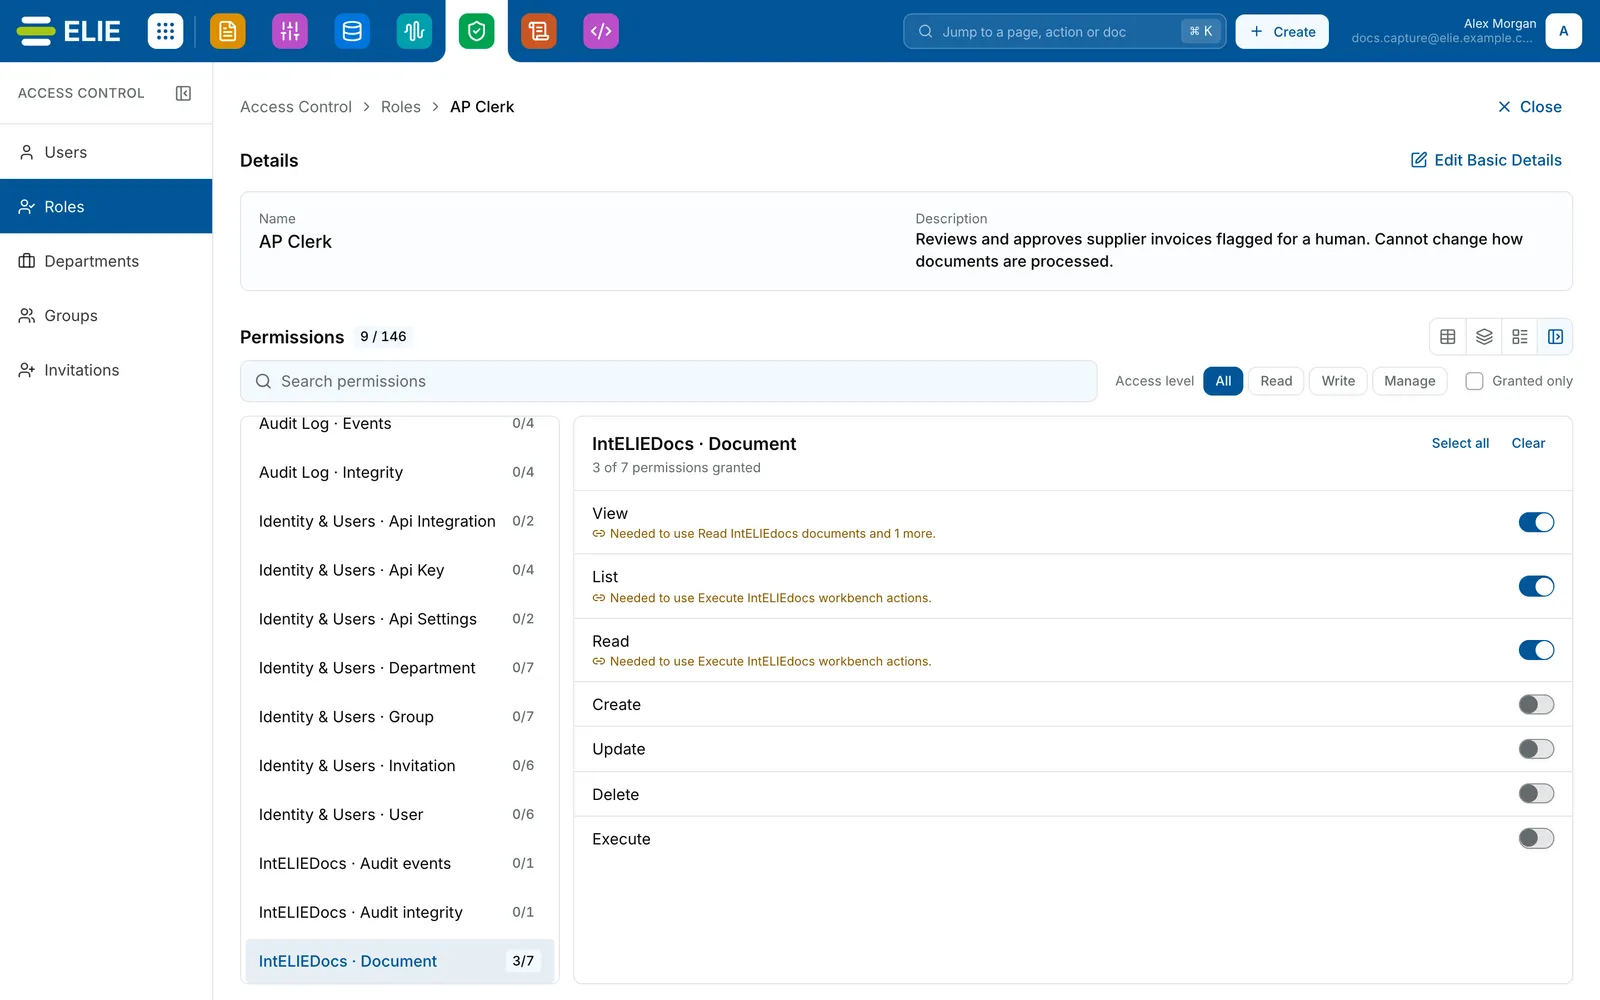
The AP Clerk role in Split view: features down the left with IntELIEDocs · Document 3/7 selected, and on the right its seven permissions, View, List and Read switched on, Create, Update, Delete and Execute off, with Select all and Clear at the top. EnlargeSave
A bar at the bottom counts your unsaved changes. Select Save Permissions to store them, or Reset Changes to put the role back as it was.
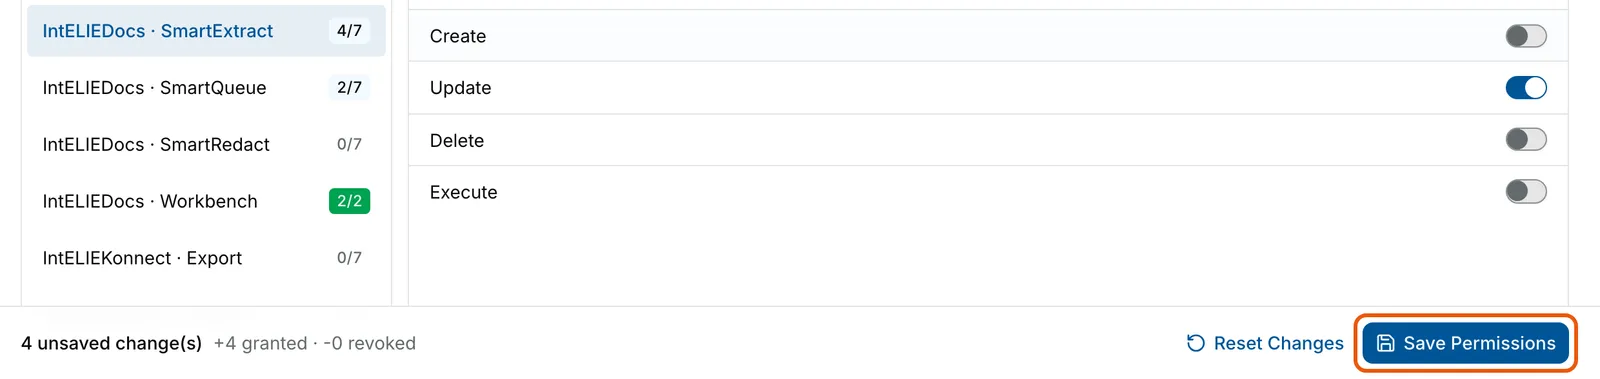
The bottom of the role page after ticking Update on SmartExtract: the bar reads 4 unsaved change(s), +4 granted, -0 revoked, with Reset Changes and the ringed Save Permissions button. Enlarge


What success looks like
- Permissions saved successfully! appears and the bar disappears.
- The count beside Permissions and the PERMISSIONS column on Roles match your ticks.
- People holding the role can use what you granted once their page reloads.
Permissions that come with others
Some permissions are useless alone: changing something needs permission to read it first. Ticking one of these ticks what it needs as well, and a message says how many were added. Each of those rows then carries a note such as Needed to use followed by the permission that needs it, and will not untick until you untick that permission first. Table view has no room for the note, so it draws a ring round the box instead, explained under the grid as Needed by another permission. Elie applies the same rule when it saves, so what you see is what gets stored.

What this page does not show
Permissions badged Scoped can also be narrowed to particular records elsewhere in the product. Voice permissions that apply to one Voice application are granted on that application's Access screen instead, and keys reserved for the platform's own services never appear. If the role holds permissions this page cannot show, the header says so, for example +2 not editable here · kept on save.
Tenant Administrator's page reads This is a locked system role and cannot be modified. and every box is inactive.

If something goes wrong
| Symptom | Likely cause | What to do |
|---|---|---|
| A box will not untick, and a message names another permission to turn off first. | That permission needs this one. | Untick the one it names, then this one. |
| Ticking one permission ticked others too. | They are needed for it to work. | Keep them, or untick the permission that needed them. |
| A note says the permission is needed by an app-scoped Voice permission. | The permission that needs it is granted on a Voice application. | Change it on that application's Access screen. |
| Could not load permissions. Please try again. | The permission list could not be read. | Reload the page. |
| Someone still cannot use what you granted. | Their open page remembers their permissions for up to five minutes, or your plan does not include that module. | Ask them to reload. A permission for a module outside your plan grants nothing. |
| The page is replaced by 403 and Access Forbidden. | Your role lacks Roles & Permissions · Role - Update. | Select Go Back and ask an administrator. |
Next
- Managing roles - creating, renaming and removing roles.
- Permissions reference - what each permission family covers.
- Managing users - giving the role to people.